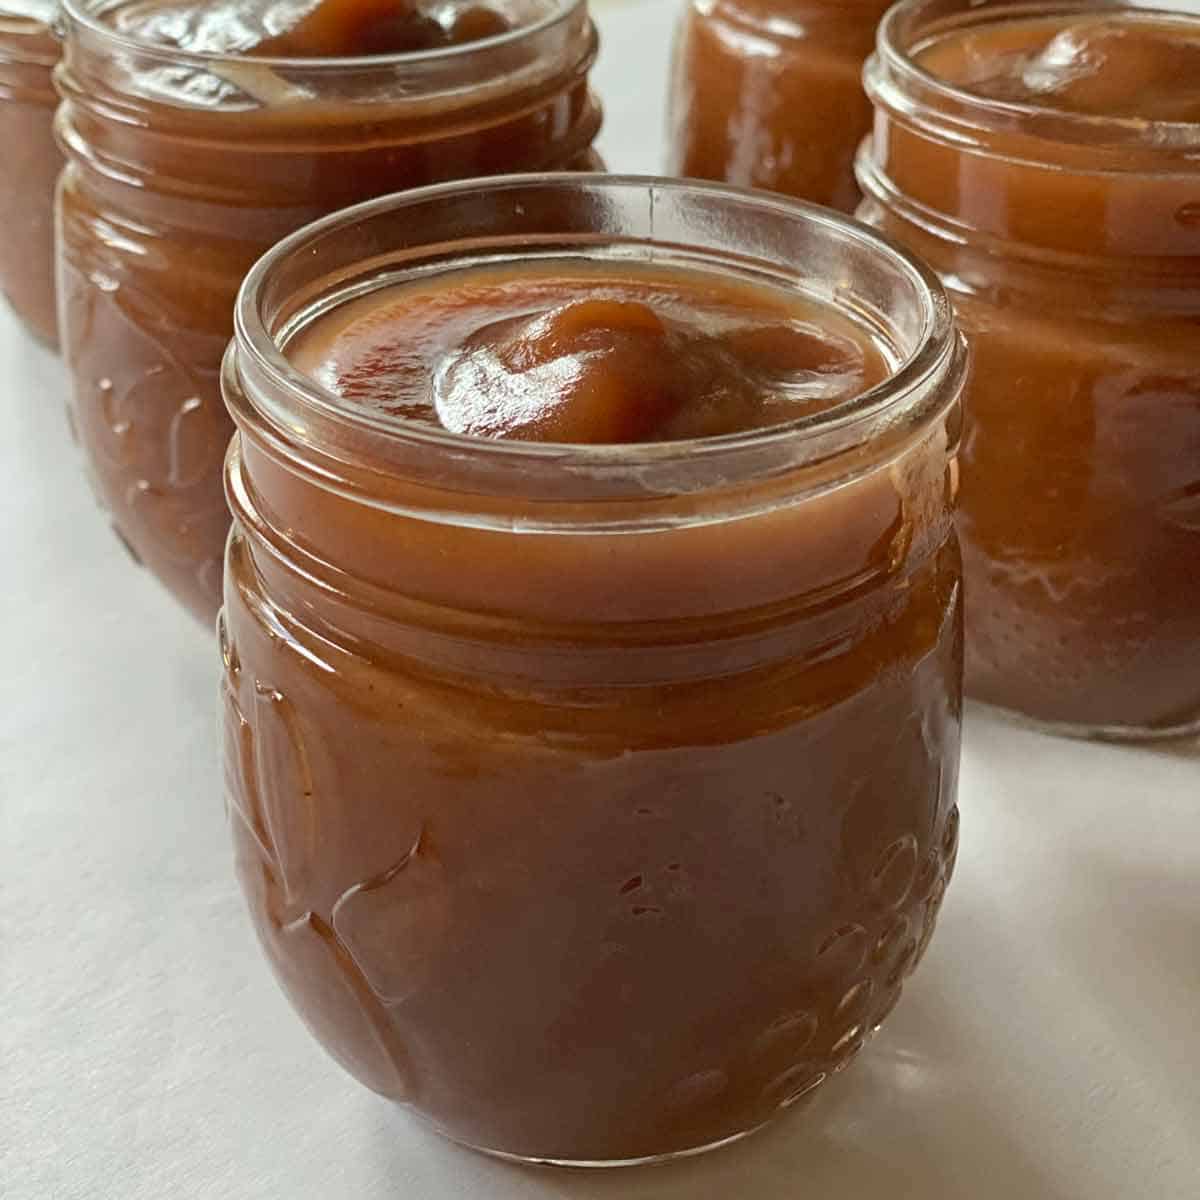
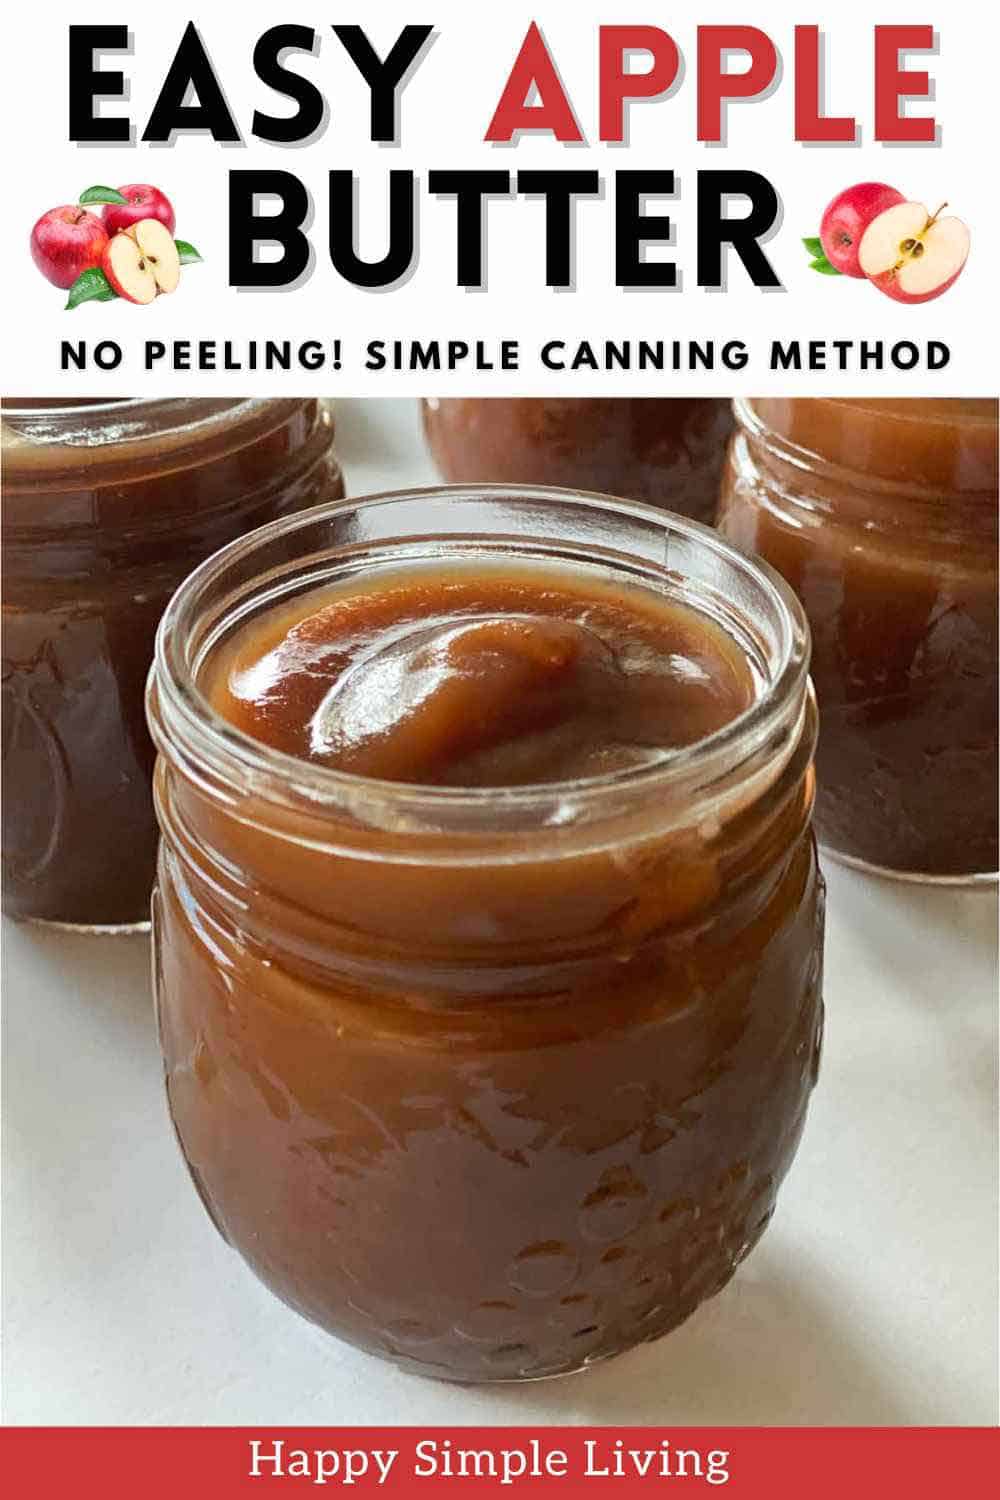
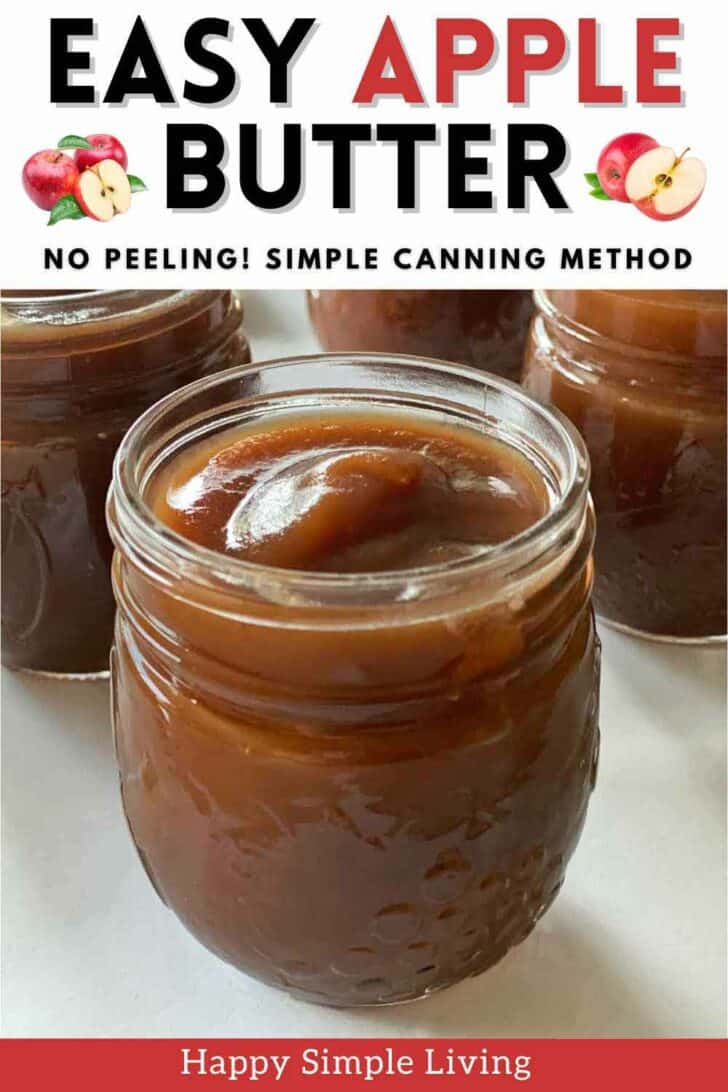
With this easy recipe for canning apple butter, you don’t need to peel apples! With our easy slow cooker recipe and water bath canning process, you won’t need a pressure cooker, either.
Apple butter (which doesn’t actually contain dairy butter) tastes amazing spread on crispy toast, biscuits, warm rolls and more. (Scroll down for more ways to use it.)
This no peel apple butter slow cooker recipe is simple to make, and cooking the apples with the peels on adds extra nutrients and a depth of flavor you’ll love.
This post may contain affiliate links. Please read our disclosure policy.
Like our easy Peach Preserves recipe, a jar of this yummy apple butter is a wonderful homemade food gift.
3 Pro Tips for Making This Recipe
Use Thin Skinned Apples: Apples with softer skins will break down while cooking and puree nicely. See my favorite varieties below.
Add a Little Salt: A dash of sea salt highlights the sweet, spicy flavors of the apple spread.
Slow Cook for 10 Hours: This apple butter cooks low and slow, and will fill your kitchen with the most heavenly aroma!
Best Apples for Apple Butter
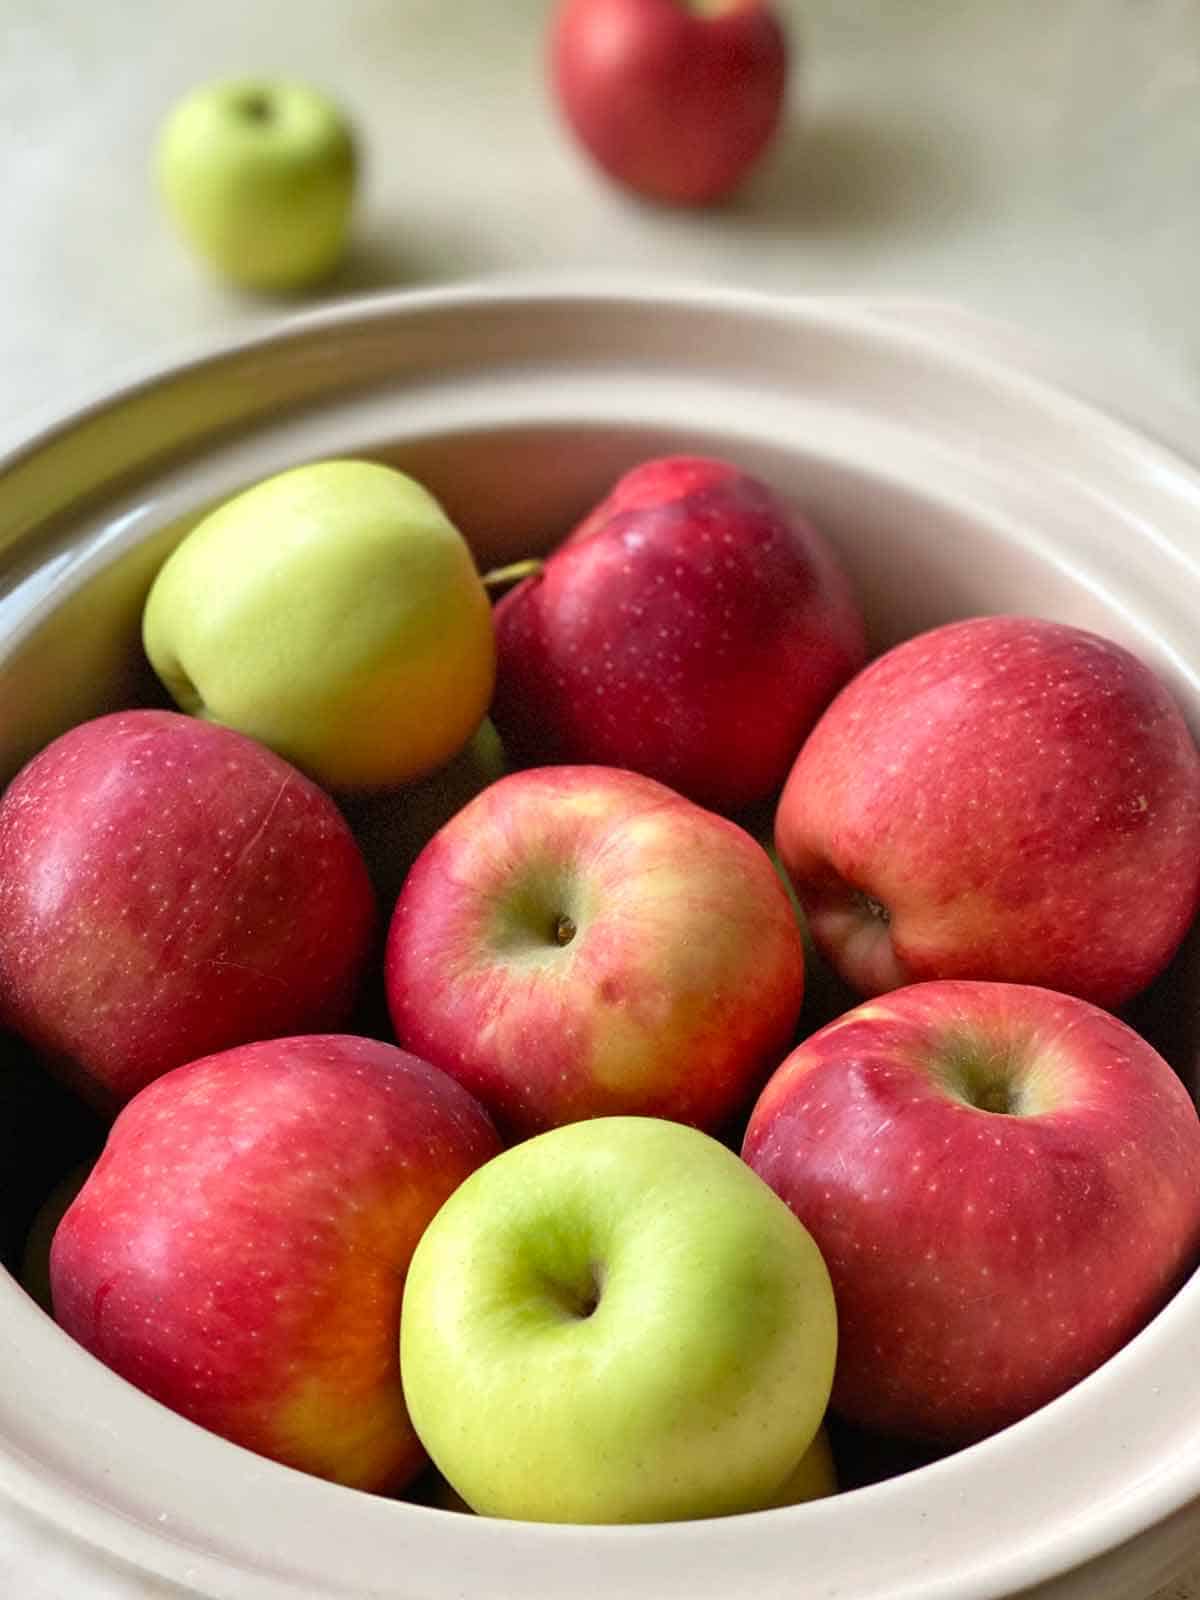
Use thin-skinned apples for best results with this recipe. The long, slow cooking time will break down the skins so they can easily be pureed. These are some of my favorite thin-skinned apples:
- Golden Delicious
- Gala
- Jonagold
- Silken
- Honeycrisp
These apple varieties all work well in this recipe. You can use all of one variety of apple, or mix several kinds as I did for this batch. (For more apple-y goodness, check out our easy Apple Crisp Granola and Apple Cinnamon Cake recipes!)
Ingredients Notes
Here’s a picture of what you’ll need to make this homemade apple butter recipe:
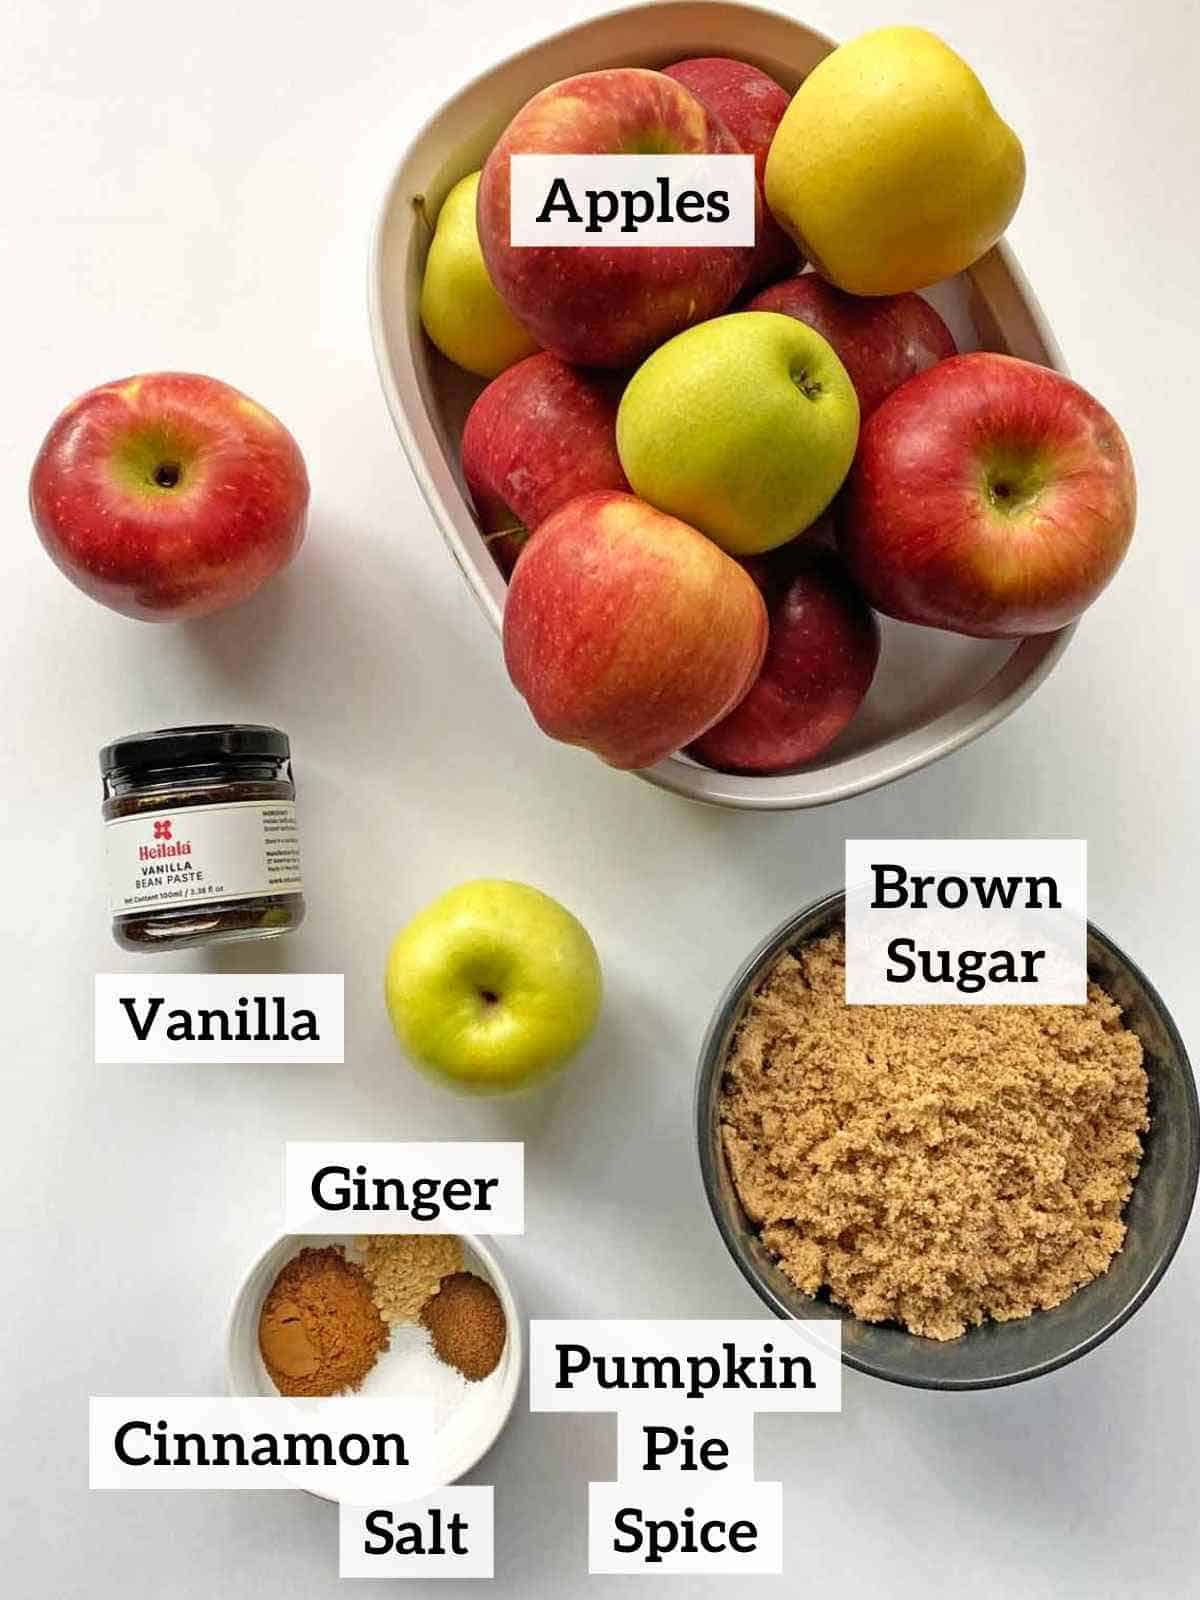
Apples – You’ll need about 6 pounds of apples for this recipe.
Vanilla – I used vanilla paste, but you can use vanilla extract if you prefer.
Brown sugar – I like dark brown sugar because it has a little more depth of flavor, but light brown sugar will work fine in this recipe, too.
Ginger – Adds a spicy kick to the mixture.
Cinnamon – The classic spice to pair with apples, I’m a fan of Vietnamese cinnamon for its robust, slightly sweet flavor.
Pumpkin Pie Spice – A cozy mix of allspice, ginger, cloves, cinnamon and nutmeg. (Here’s how to make your own pumpkin pie spice if you don’t have it on hand.)
Salt – Just a dash of fine sea salt brings out the complex flavors of the apple butter.
Equipment Needed
You’ll need a few things to make this recipe:
Slow cooker – A large 7-quart crock pot is perfect for this recipe.
Immersion blender – This handy gadget makes it super easy to puree the apple mixture right in the slow cooker. If you don’t have one, no problem. You can use a food processor or blender.
Canning jars with lids and screw bands – The 8 ounce (half pint) canning jars are the perfect size, and also handy for gift giving. Note: You can sterilize and reuse glass jars, but always get new lids and screw bands for canning so the seal is perfect.
Water bath canner – This is essentially a large stock pot with a round rack inside so your jars aren’t resting directly on the bottom of the pan. (No need to buy a special canner if you already have a large pot; you can place a folded dishtowel in the bottom to protect the jars.)
Ladle – To spoon the hot apple butter in the sterilized jars. (I used our soup ladle for this.)
Jar Lifter – (Optional) – If you have this tool on hand, it makes it easier to lift the processed jars from the hot water. I personally use silicone tip tongs.
How to Sterilize Jars for Canning
- Wash the jars with hot, soapy water, checking for cracks or chips. Rinse them well.
- Place the empty jars right side up in the stockpot or on a water-bath canner rack. Add the lids and sealing rings to the boiling water bath. Fill the pot with enough water to cover the jars by at least one inch. Bring the water to a boil and let the jars boil for 10 minutes to ensure full sterilization.
- Use a jar lifter or kitchen tongs to remove the hot sterilized jars, lids, and sealing rings one at a time. Drain on paper towels.
Step by Step Instructions
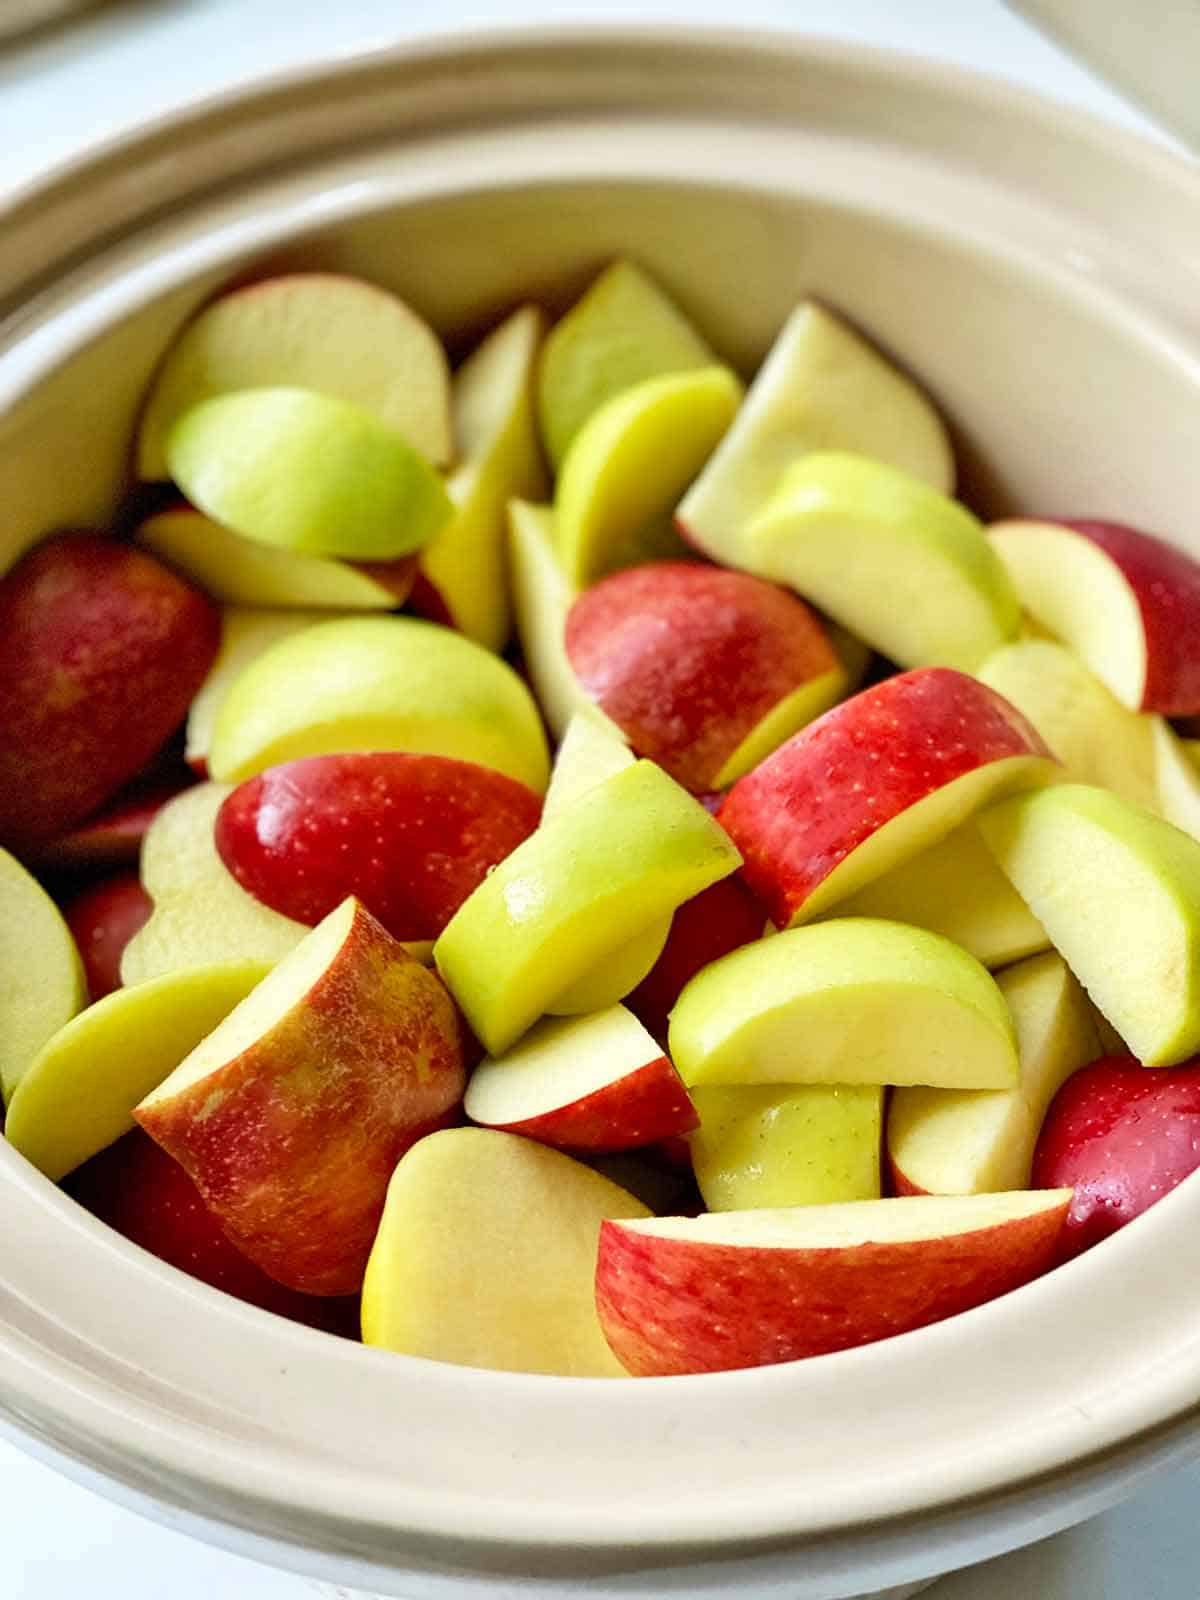
STEP ONE: Wash the apples well. Core them and cut in 1-inch slices. Put them in the liner of the crock pot.
STEP TWO: Whisk together the brown sugar, spices, and salt until well combined.
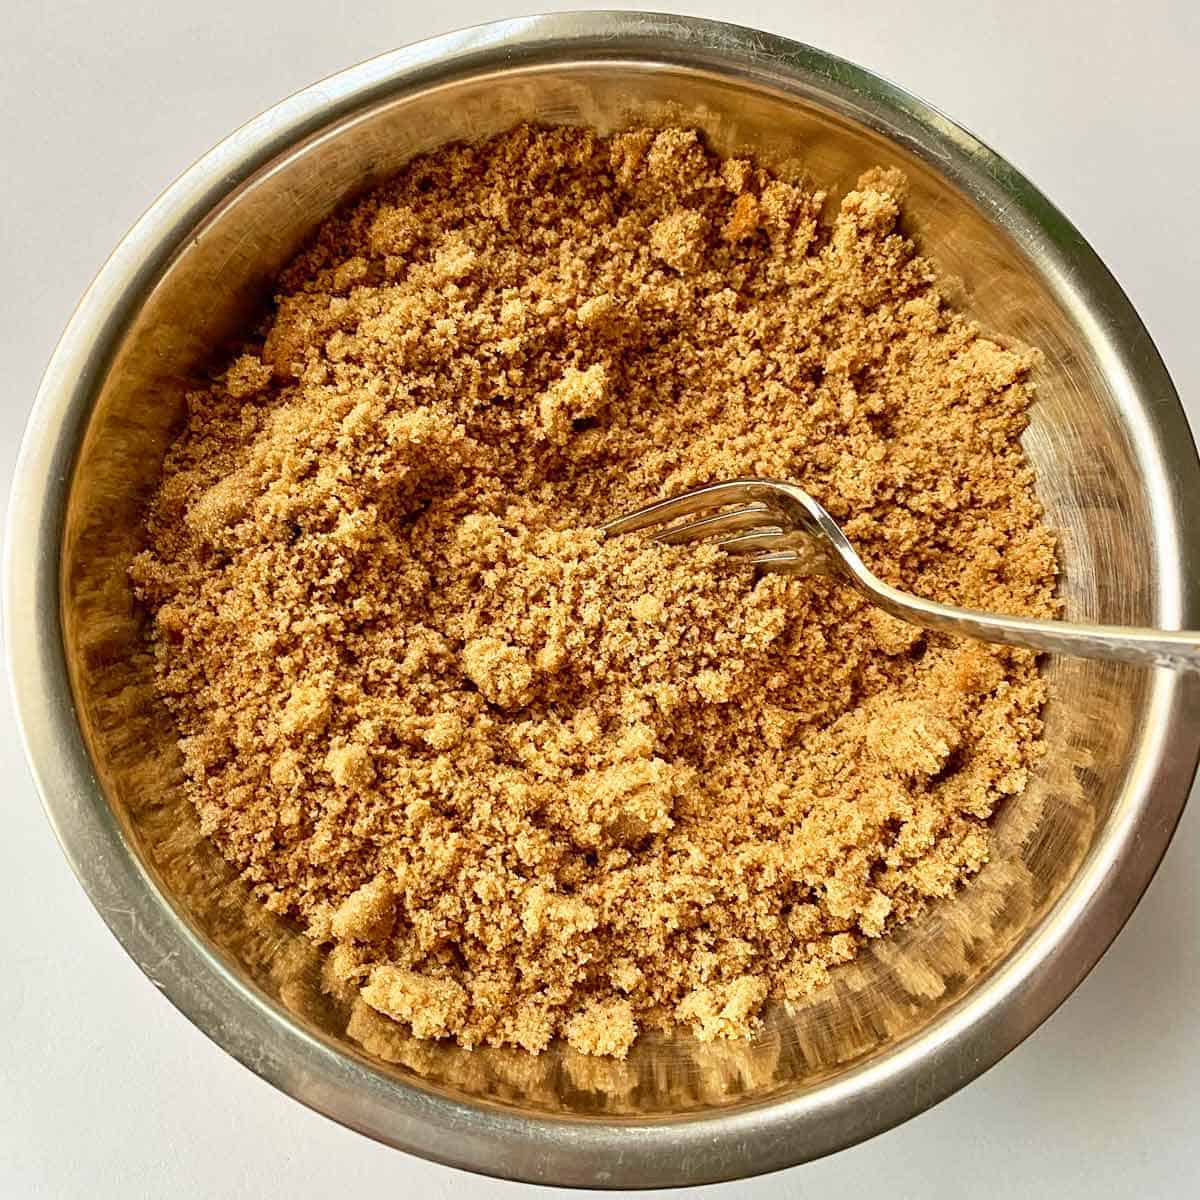
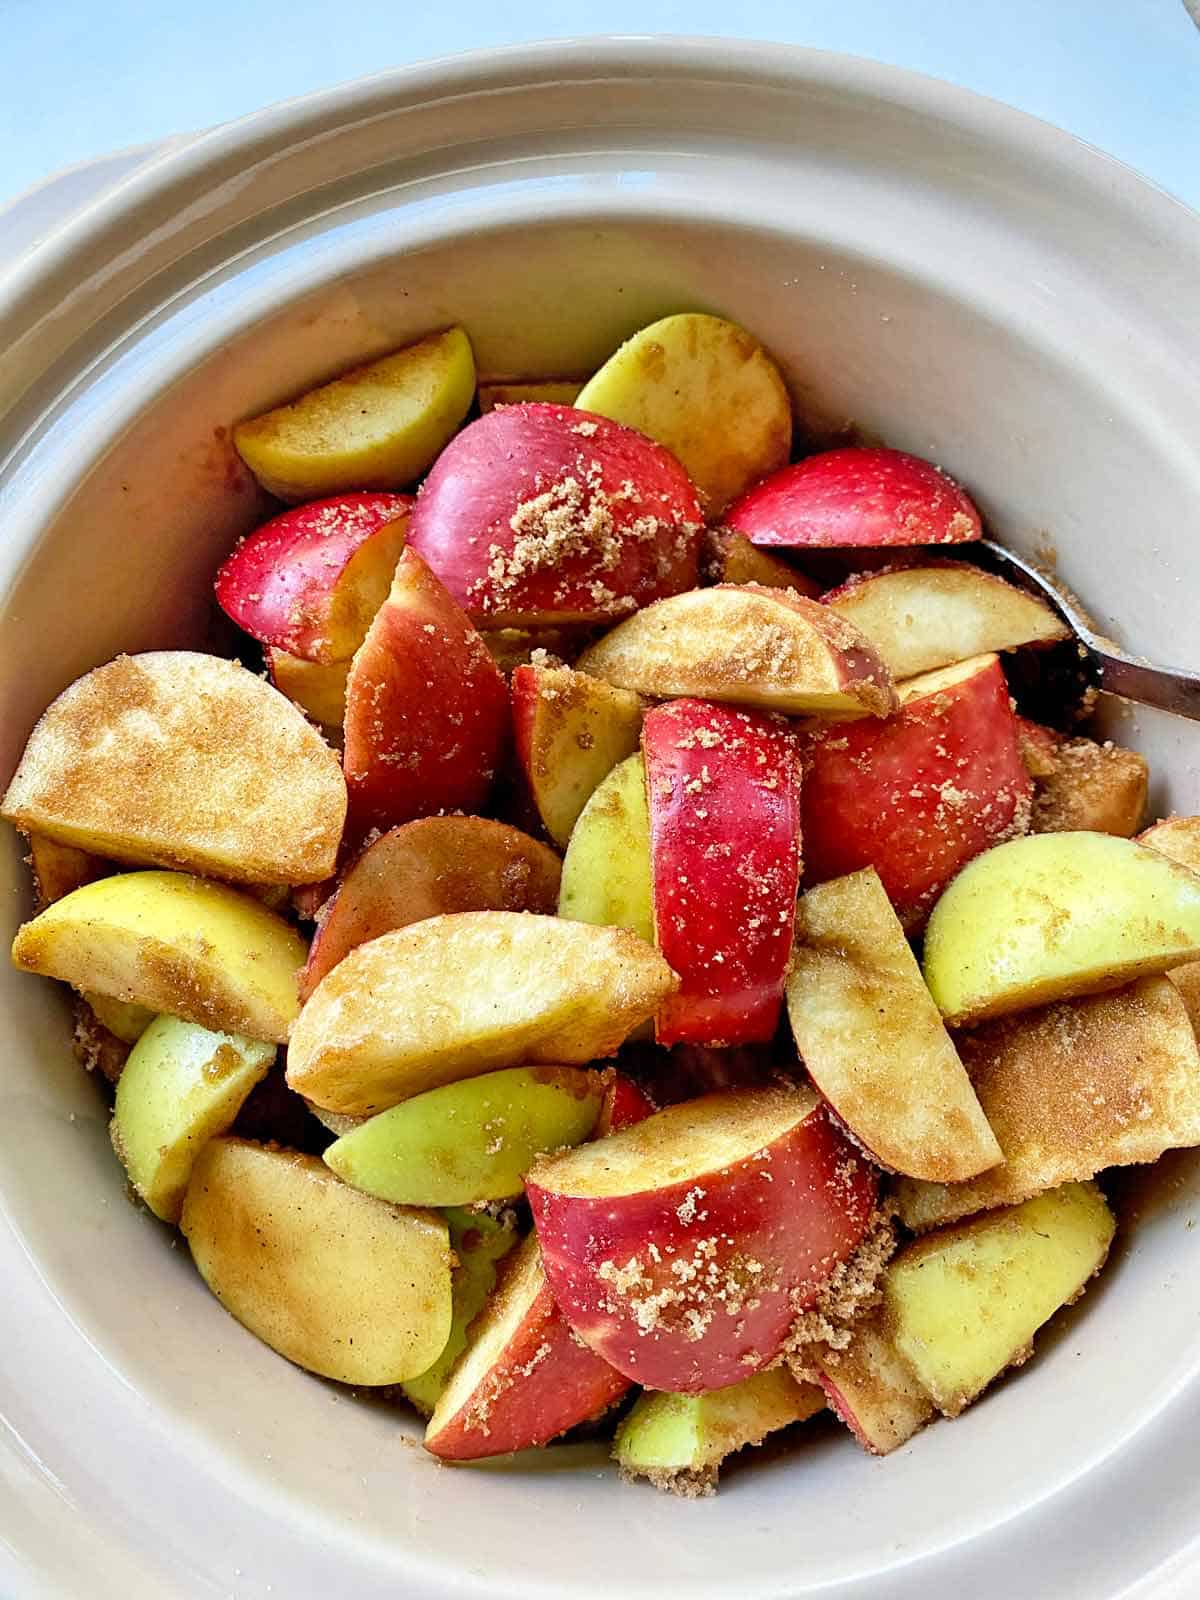
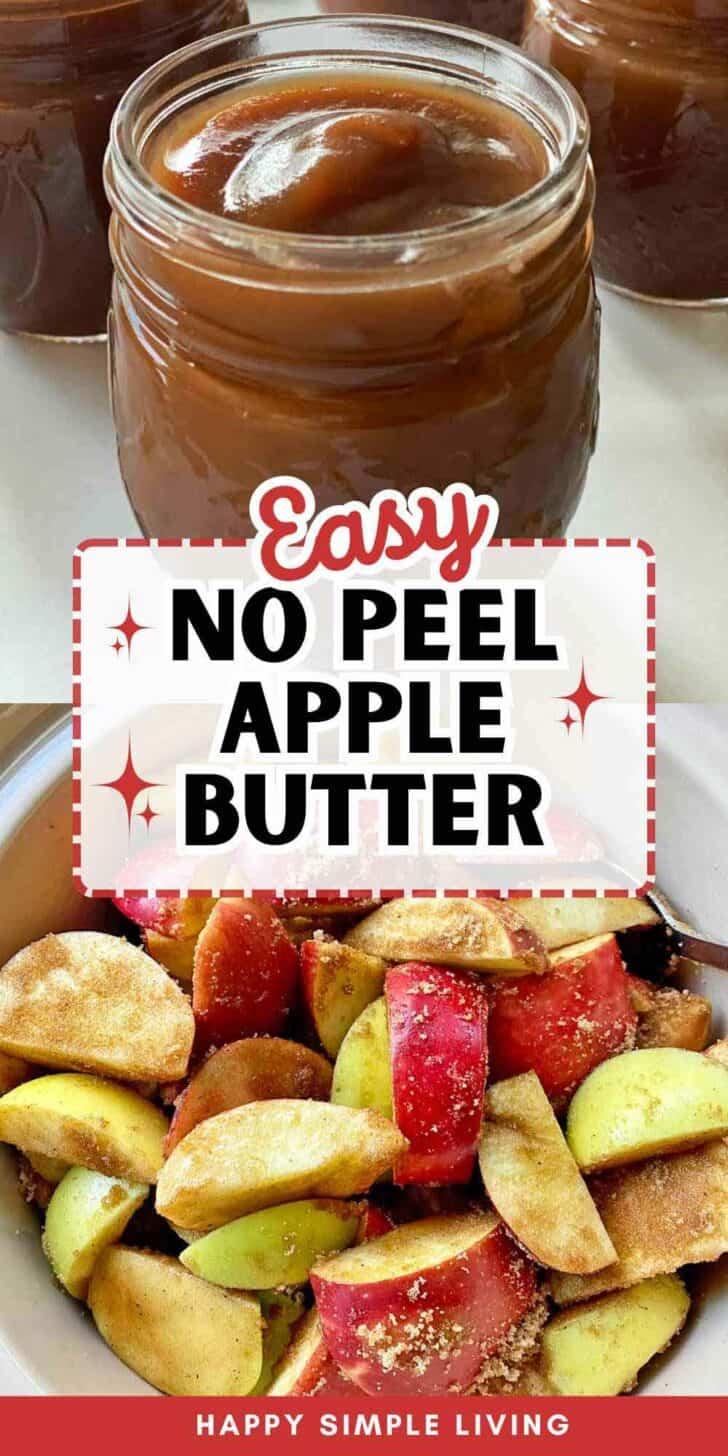
STEP THREE: Add the brown sugar mixture and vanilla to the apples and toss until they’re well coated.
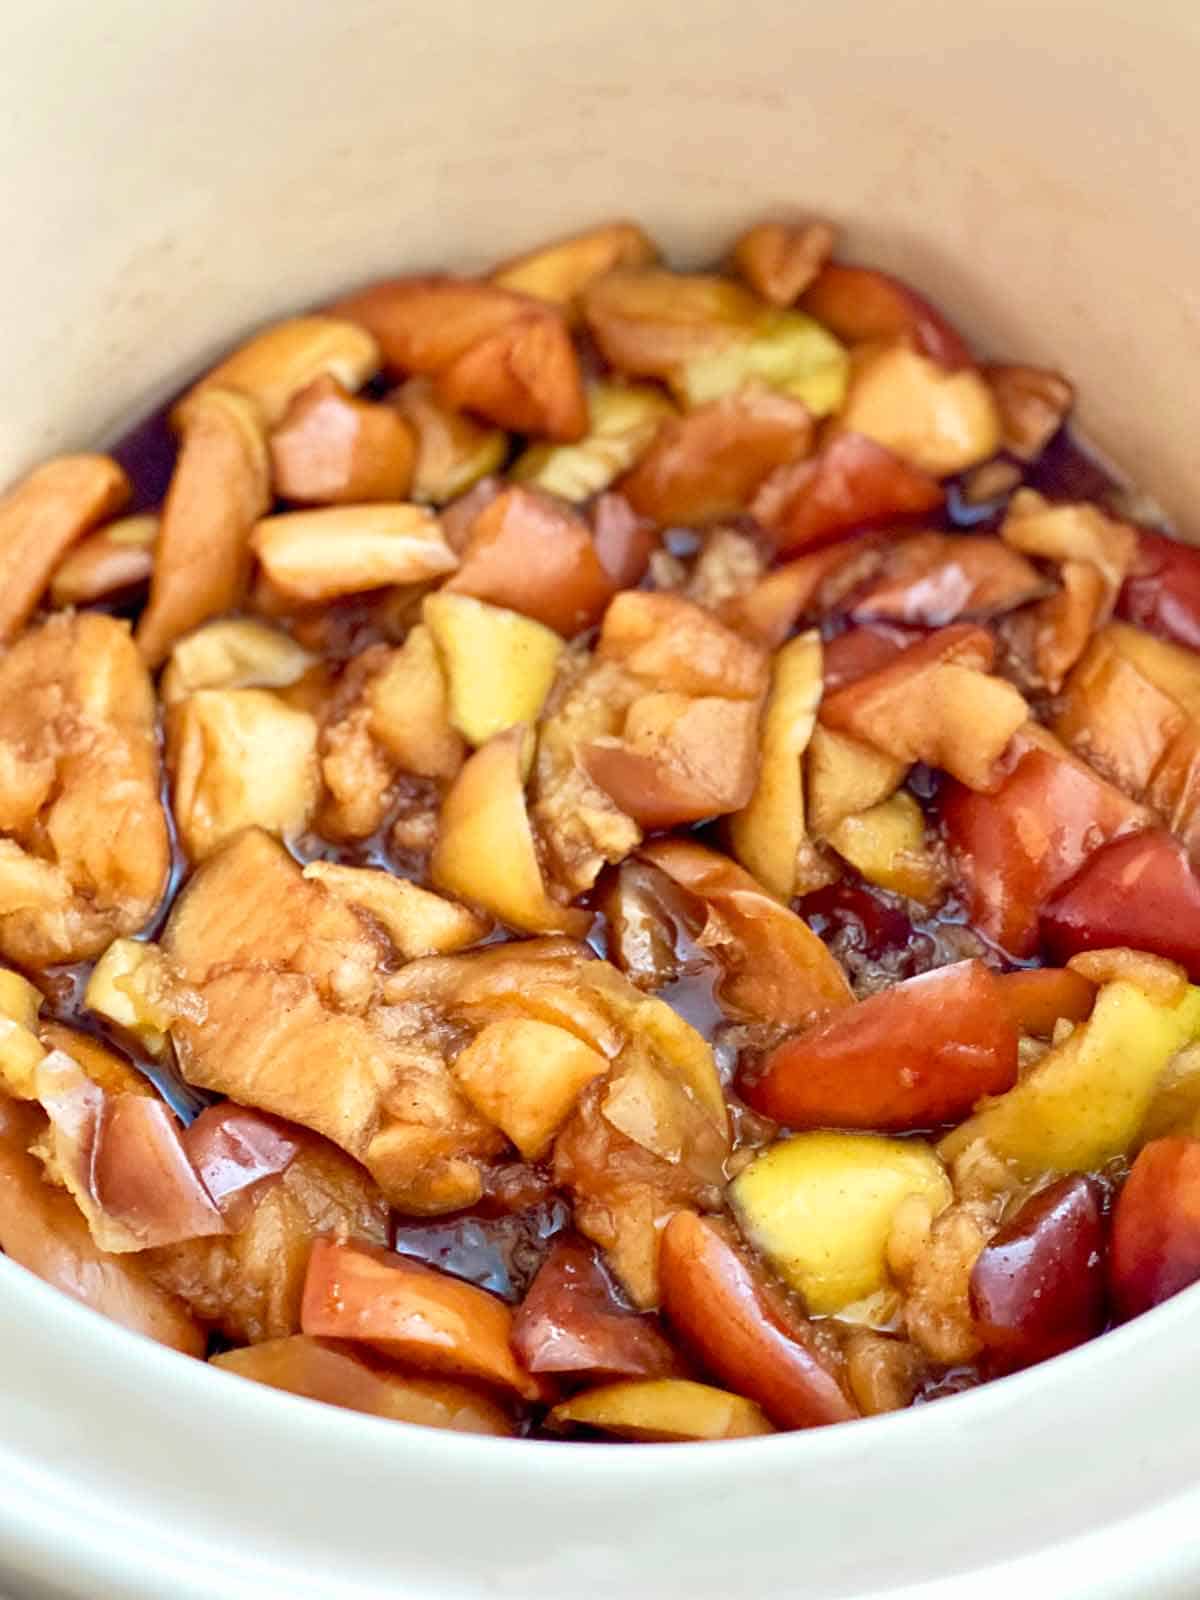
STEP FOUR: Put the lid on the crock pot and cook on Low, stirring occasionally, for 10 hours. The apples will start to break down as they cook.
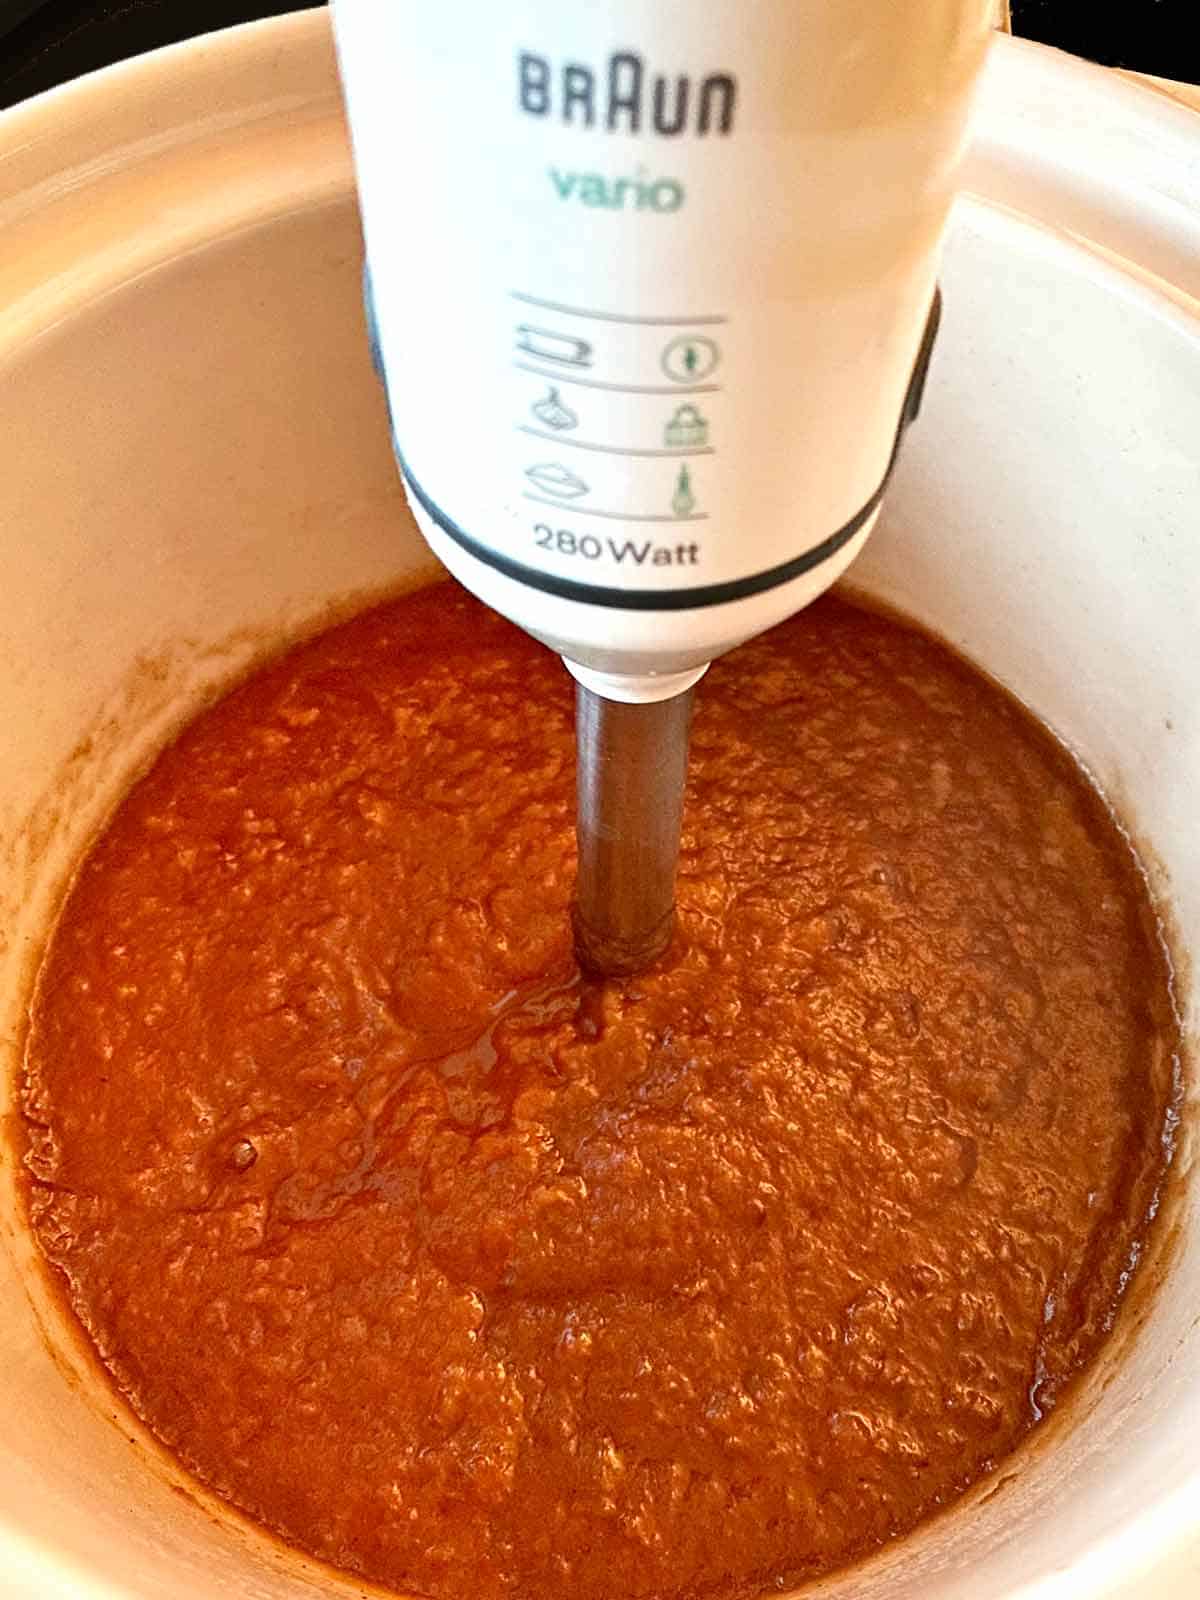
STEP FIVE: Unplug the slow cooker. Use an immersion blender to puree the apple mixture. Be careful, starting on the very lowest speed and gradually increasing speed if needed. Puree until mixture is very smooth, about 5 minutes.
PRO TIP: IF YOUR APPLE BUTTER ISN’T SMOOTH
One time I made a batch of this apple butter with home grown apples. The flavor was ah-mazing, but the apples had thicker skins so the mixture wasn’t silky smooth after pureeing. It
If this happens to you, all you need to do is pour the hot apple butter through a wire mesh strainer. Any little pieces of apple skin will catch in the strainer and you’ll be good to go.
STEP SIX: Fill your canning pot half full with water, put it on the burner, and turned the heat to High.
STEP SEVEN: Ladle the hot apple butter into the prepared jars, filling to within 1/8 inch of tops.
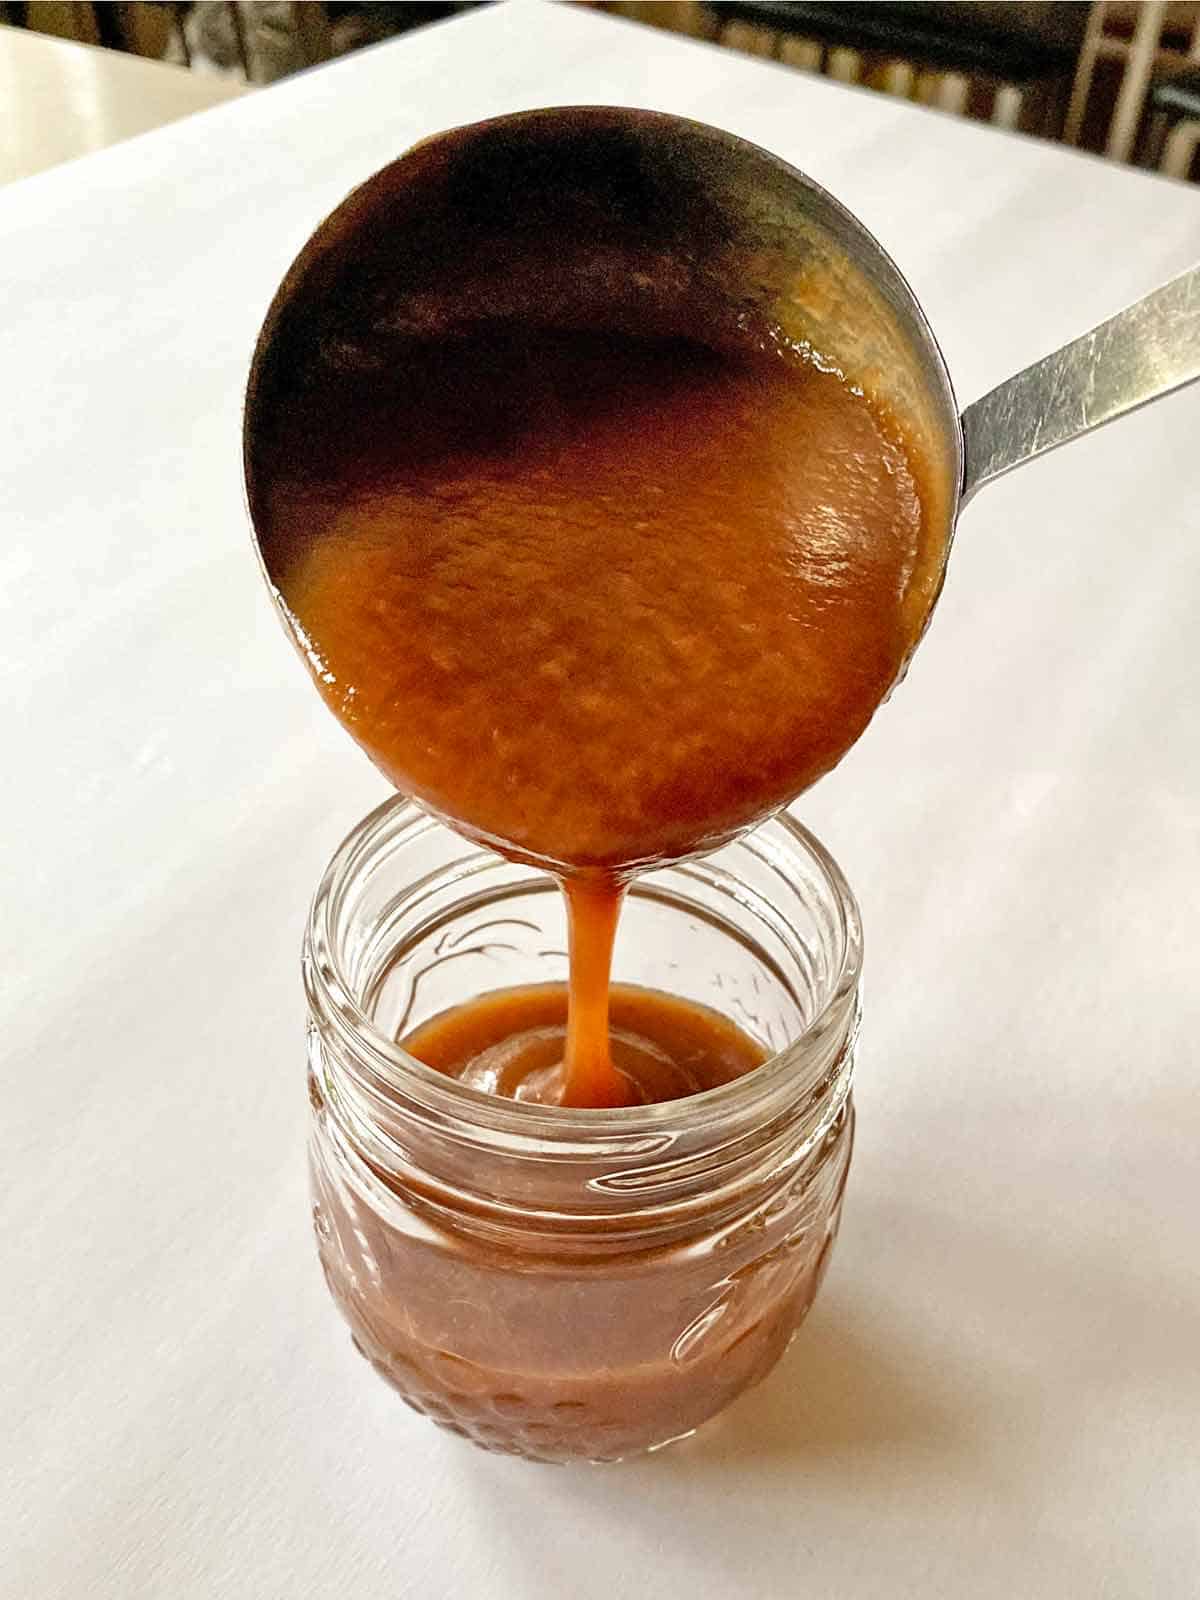
Look how silky the apple butter is! Who would guess you could get such smooth texture without tediously peeling apples?
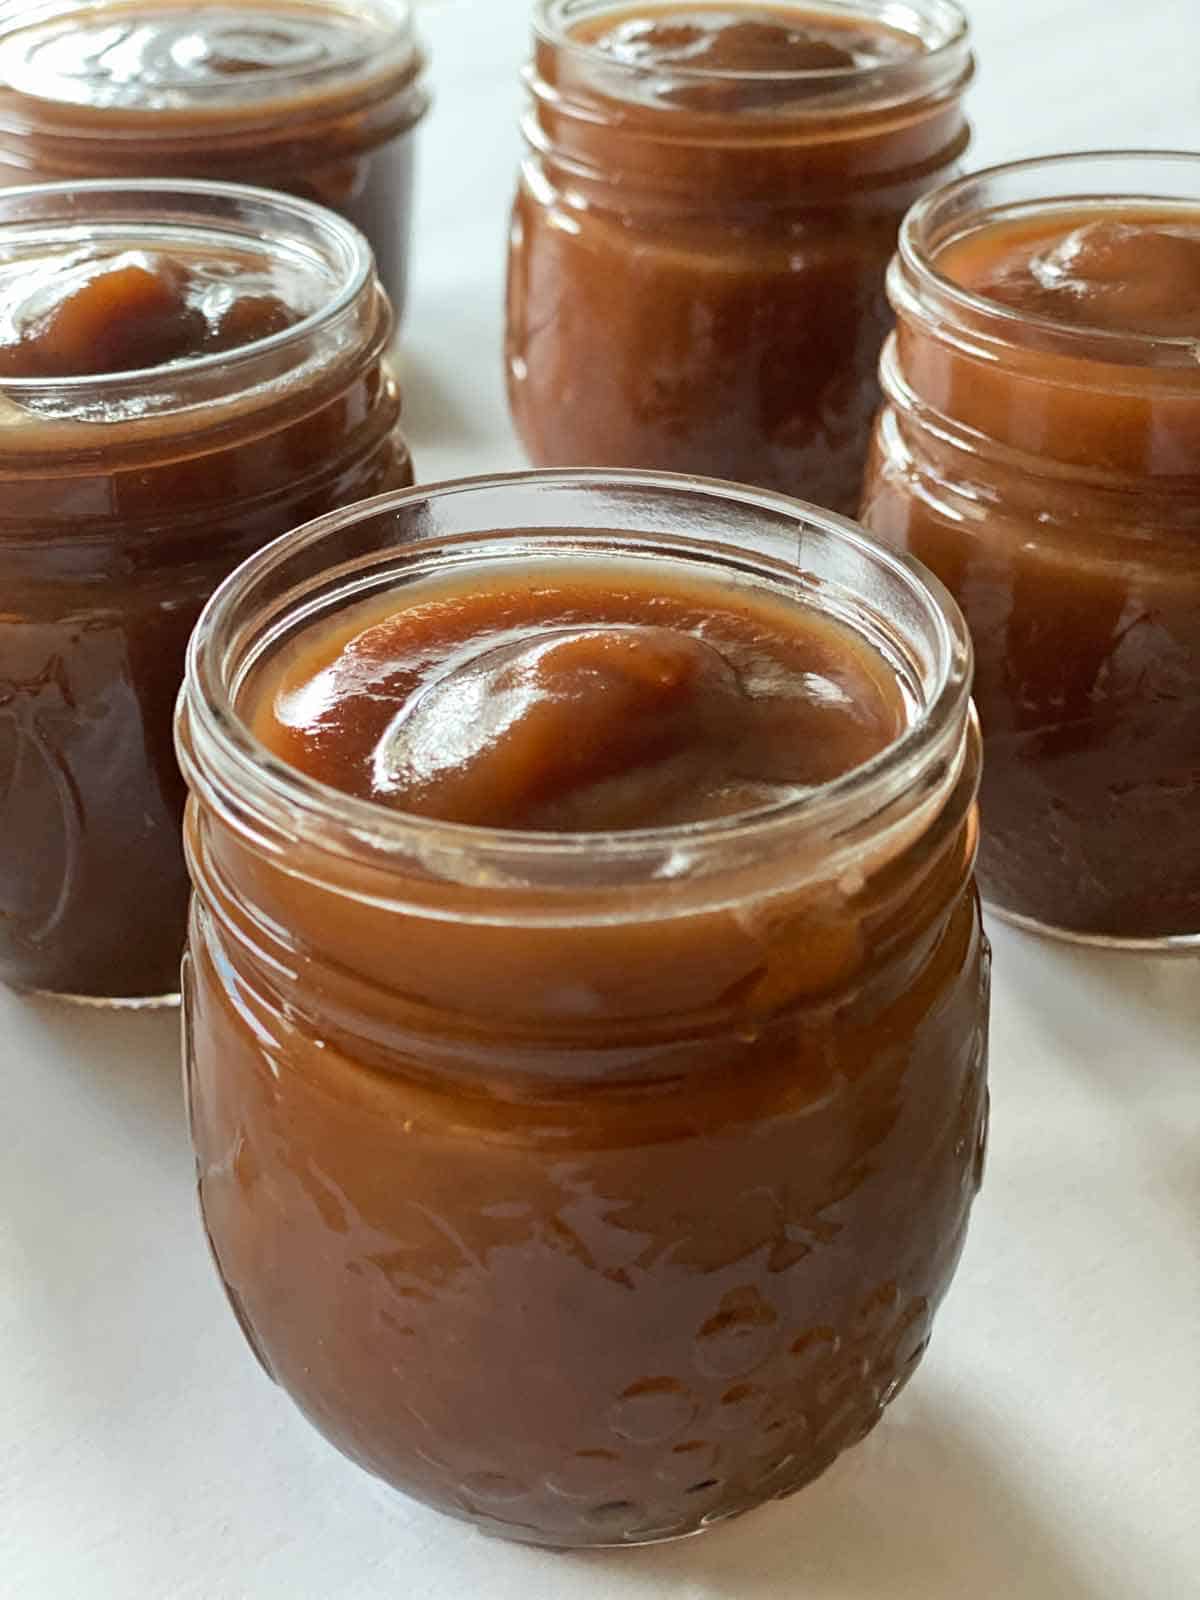
STEP EIGHT: Wipe the jar rims and threads with a clean damp cloth. Cover with the two-piece lids and screw the bands on tightly.
Note: If you’re going to eat the apple butter right away or use it in a recipe, you can cool the jar to room temperature and put it directly in the refrigerator.
Otherwise, now you’ll finish with the food preservation process of canning apple butter.
Water Bath Canning
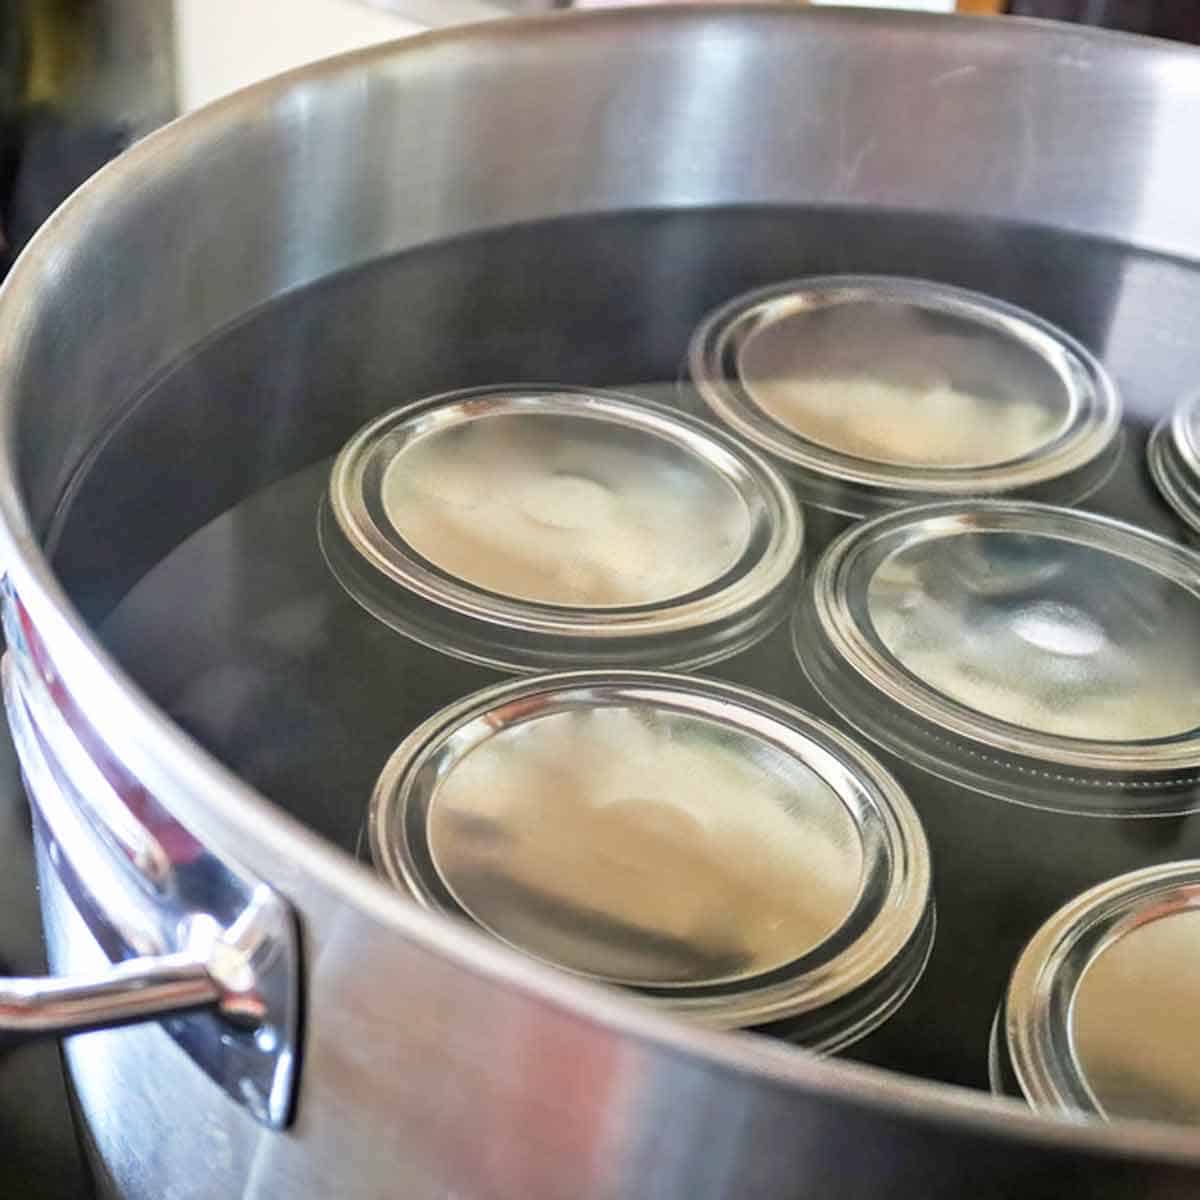
To figure out your processing time and get familiar with the canning process, read the excellent directions at Simply Canning.
STEP NINE: Arrange the upright jars on the rack in the pot. Make sure the water can flow freely between each jar.
STEP TEN: Put the lid on the pot and bring the water to a full boil. Now you’ll start timing to process the apple butter.
If you’re at sea level, process the apple butter for 5 minutes. Then turn off the heat and leave the jars in the water for an additional 5 minutes to help stabilize the temperature.
If you’re at an altitude of 1,000 feet or higher, make these adjustments to your processing time:
Water Bath Canning Altitude Adjustments
- 0 – 1,000 ft – use recipe time
- 1,001 – 3,000 ft – increase by 5 minutes
- 3,001 – 6,000 ft – increase by 10 minutes
- 6,001 – 8,000 ft – increase by 15 minutes
- 8,001 – 10,000 ft – increase by 20 minutes
STEP ELEVEN: Remove the jars and transfer to a wire rack to cool completely to room temperature. Next, press in the middle of each lid to check the seals. The lids shouldn’t ‘give,’ and should feel tight.
Note: Occasionally a jar won’t seal properly. If the lid springs back when you press it, don’t worry; just move this jar to the refrigerator and plan to use the contents in the next two weeks.
Storage Directions
Store the jars in a cool, dry place like a kitchen cupboard.
Once you’ve opened the apple butter, store it in the refrigerator and plan to use it within 3 weeks.
Can You Freeze Apple Butter?
Yes, apple butter freezes well. If your jars are freezer-safe, cool them completely after filling. (You don’t need to do the canning process if you’re freezing the contents.) Then move them to the refrigerator for 12 hours before transferring to the freezer.
Alternately, you can pour the apple butter in freezer bags or freezer containers. The apple butter keeps in the freezer for up to 6 months. Thaw in the refrigerator overnight before using.
Serving Suggestions
Along with being absolutely heavenly on hot biscuits, buttered toast, warm scones, or toasted English muffins, we love to spoon it on Greek yogurt for an easy breakfast.
These are some of my other favorite recipes for using apple butter:
Apple Butter Bundt Cake with Peanut Butter Icing
Pull Apart Loaf with Apple Butter
If you enjoy this recipe, please click on the stars ⭐️⭐️⭐️⭐️⭐️ below to leave a rating and comment! It helps us and our readers so much!
Printable Recipe Card
Canning Apple Butter in the Slow Cooker (No Peeling!)
Equipment
- Sharp knife
- Cutting board
- medium bowl
- Whisk
- 7- or 8-quart slow cooker
- immersion blender
- large canning pot with inner rack and lid
- ladle
- 8 8 ounce canning jars, sterilized
- 8 canning lids and screw bands (new)
- jar lifter or tongs
- cooling rack
Ingredients
- 7 pounds apples (thin skinned varieties work best)
- 1 1/2 cups brown sugar, packed
- 1 tablespoon ground cinnamon
- 2 teaspoons pumpkin pie spice
- 1 teaspoon ground ginger
- 1/2 teaspoon fine sea salt
- 2 teaspoons vanilla paste or extract
Instructions
- Wash the apples well. Core them and cut in 1-inch slices. Put them in the liner of the crock pot.
- In a medium bowl, whisk together the brown sugar, spices, and salt until well combined.
- Add the brown sugar mixture and vanilla to the apples and toss until they’re well coated.
- Put the lid on the crock pot and cook on Low, stirring occasionally, for 10 hours. The apples will start to break down as they cook.
- Unplug the slow cooker. Use an immersion blender to puree the apple mixture. Be careful, starting on the very lowest speed and gradually increasing speed if needed. Puree until mixture is very smooth, about 5 minutes.
- Fill your canning pot half full with water, put it on the burner, and turned the heat to High.
- Ladle the hot apple butter into the sterilized jars, filling to within 1/8 inch of tops.
- Wipe the jar rims and threads with a clean damp cloth. Cover with the two-piece lids and screw the bands on tightly.
- Arrange the upright jars on the rack in the pot. Make sure the water can flow freely between each jar.
- Put the lid on the pot and bring the water to a full boil. Now you’ll start timing to process the apple butter. If you’re at sea level, process the apple butter for 5 minutes. (IMPORTANT: If you're at an elevation higher than 1,000 feet you'll need to adjust the cooking time. See the Notes below for exact timing.) Then turn off the heat and leave the jars in the water for an additional 5 minutes to help stabilize the temperature.
- Remove the jars and transfer to a wire rack to cool completely to room temperature. Next, press in the middle of each lid to check the seals. The lids shouldn’t ‘give,’ and should feel tight. Store the jars in a cool, dark place. Makes about 8 cups, or 8 8-ounce jars.
Notes
- 0 – 1,000 ft – use recipe time
- 1,001 – 3,000 ft – increase by 5 minutes
- 3,001 – 6,000 ft – increase by 10 minutes
- 6,001 – 8,000 ft – increase by 15 minutes
- 8,001 – 10,000 ft – increase by 20 minutes
Nutrition
Save for Later

Eliza Cross is the creator of Happy Simple Living, where she shares ideas to help busy people simplify cooking, gardening, holidays, home, and money. She is also the award-winning author of 17 cookbooks, including Small Bites and 101 Things To Do With Bacon.




This recipe tastes great! The flavors and spice amounts are perfect. I was hoping for a thicker sauce though after canning.
Leslie, I’m so glad you were happy with the recipe and flavor. As far as the thickness, it sounds like you may have had extra juicy apples that released more moisture. You can cook down the apple butter mixture with the lid off near the end of the cooking time and let some of the liquid evaporate for a thicker apple butter. Thanks so much for stopping by and commenting on the recipe! ~Eliza